Help Center
Guides on how to use and configure Checkeys
Features (Basic Operations)
How to add Checkeys to your smartphone home screen
[For iOS]
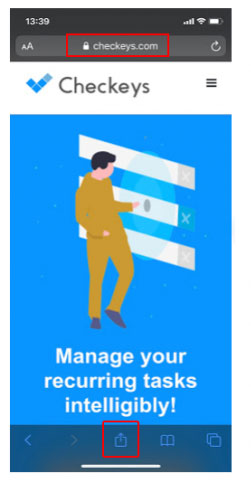
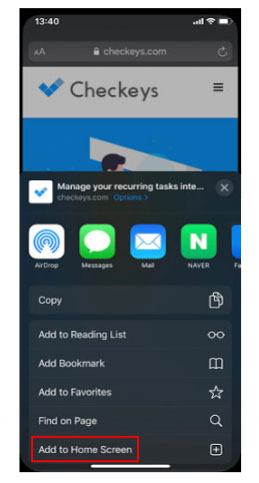
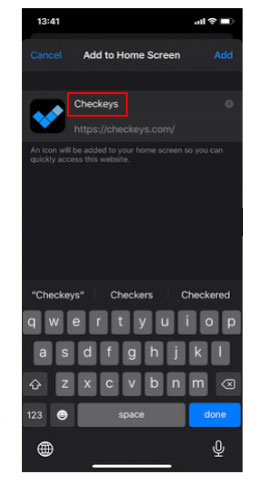
1. Open Checkeys in Safari and tap the "Share icon" at the bottom center. 2. Tap "Add to Home Screen". 3. Change the display name to "Checkeys" and tap "Add" in the upper right. 4. It is complete when the icon appears on the home screen.
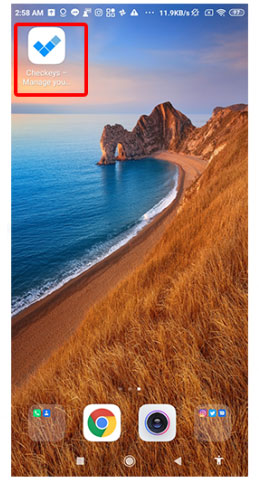
[For Android]
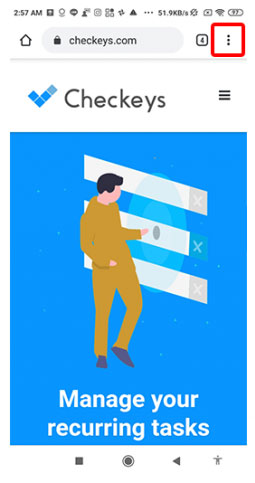
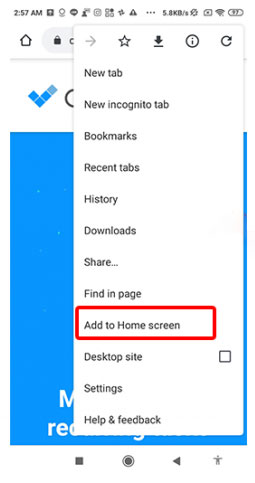
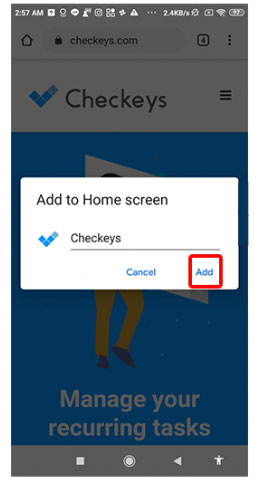
1. Open Checkeys in Chrome and tap the "Menu icon" in the upper right. 2. Tap "Add to Home Screen". 3. Change the display name to "Checkeys" and tap "Add". 4. It is complete when the icon appears on the home screen.
Copying and sorting checklists
[Copying a Checklist] 1. Click "Checklist" > "search" in the left sidebar. 2. Select "Copy" on the right side of the relevant checklist to duplicate it. [Sorting Tasks in a Checklist] 1. Click on the relevant checklist to open it. 2. Drag & drop the tasks you want to sort to change their order. 3. You can add tasks using "Add Checkey" at the bottom and delete unnecessary tasks using "Delete" on the right. 4. Click "Register" at the bottom of the page to save when finished.
How to manage workflows such as checking Checkeys and completing tasks
1. Click "Scheduled Checker" on the dashboard or open the link from the bell icon on the top left, and confirm that the status is "done". 2. Change the status from "Requested" to "Doing" and update. 3. Checking the confirmed task will record the username and date/time. Enter comments and register if necessary. 4. After all confirmations, change the status from "Doing" to "Done" and update.
Execute Checkeys and provide feedback to members and managers
[Execute Checkeys] 1. Open the relevant item from "Today's Checkeys" or "Notifications" on the dashboard. 2. Change the status in the upper right from "to do" to "doing" and update to start working. 3. Check the completed tasks (user and date/time will be recorded). Items to share can be commented in the memo field. 4. After full completion, change the status from "doing" to "done" and update. [Notification of Completion] 1. Select the member to report to from the "Checkers" item at the bottom of the page and click "Contact Checker". 2. If there are items to share, enter a message in the comment field and click "Register".
How to create a checklist and assign it to members
[Creating a Checklist] 1. Click "create" under "search" in the left sidebar. 2. Enter information such as name, branch, department, and group. 3. Enter tasks in "Check Content" (you can add more with the "Add Checkey" button). You can add details or attach files in the remarks column. 4. Click "Register" to save. [Assigning to Members] 1. Select the created list from "Checkeys" > "search". 2. Select the assigned member with "select" in "Checkeys start with" in the upper right and specify the date. 3. Click the text part of "Checkeys start with" to send a notification.
Integrations (External Tools)
How to integrate Checkeys with LINE WORKS
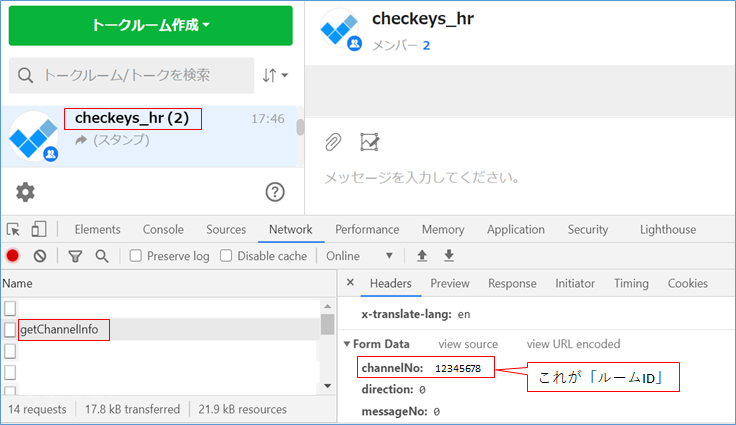
[Getting Room ID (Using PC Browser)]
1. Enter the relevant talk room. 2. Launch the browser's "Developer Tools". 3. Check "getChannelInfo" > "Headers" and use the value of "channelNo" as the "Room ID".
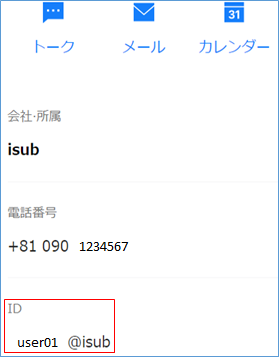
[Getting ACCOUNT ID]
1. Open the address book. 2. Click the relevant user. 3. The "ID" on the detail screen is the "Account ID".
How to integrate Checkeys with Slack
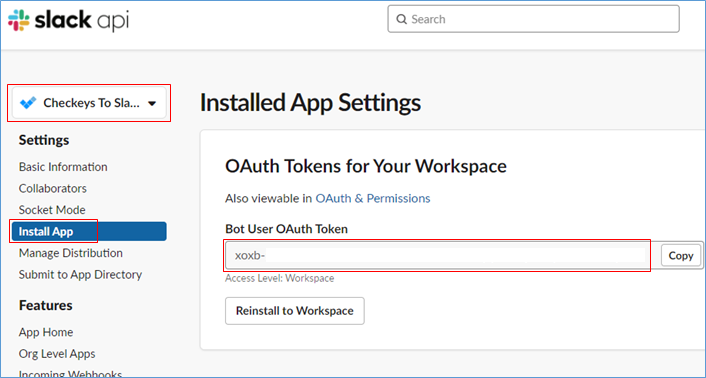
[Getting Token (Creating Slack App)]
1. Access Slack API (https://api.slack.com/apps) and click "Create New App". 2. Click the "OAuth & Permissions" tab in the left sidebar. 3. Select at least one scope in "Bot Token Scopes" and click "Add an OAuth Scope". 4. Check the bot user settings in "App Home" in the left sidebar.
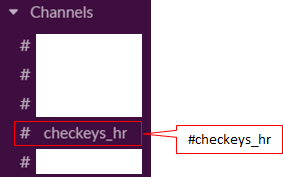
[Getting Channel Name]
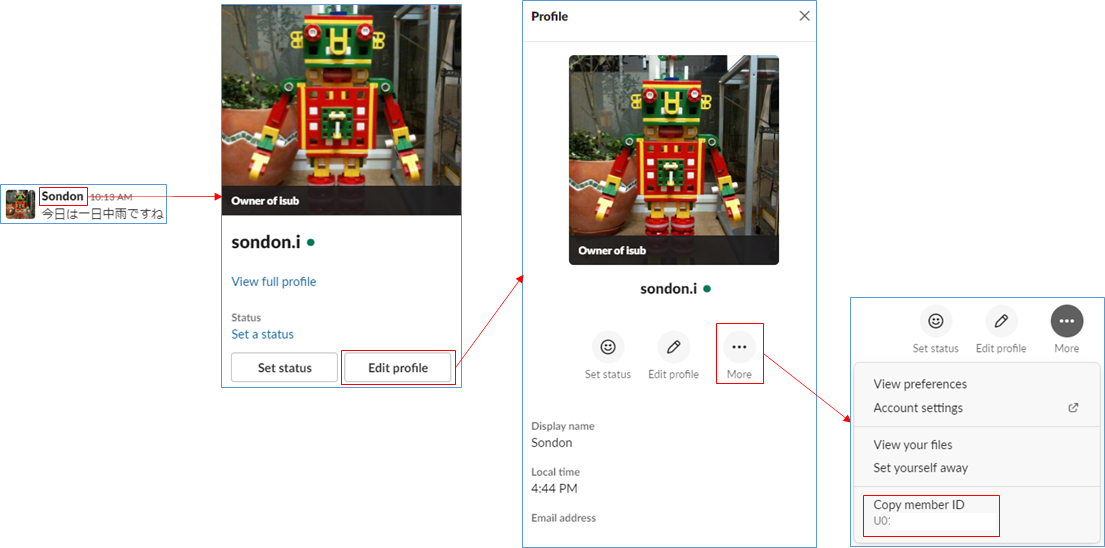
[Getting Mention (Member) ID]